


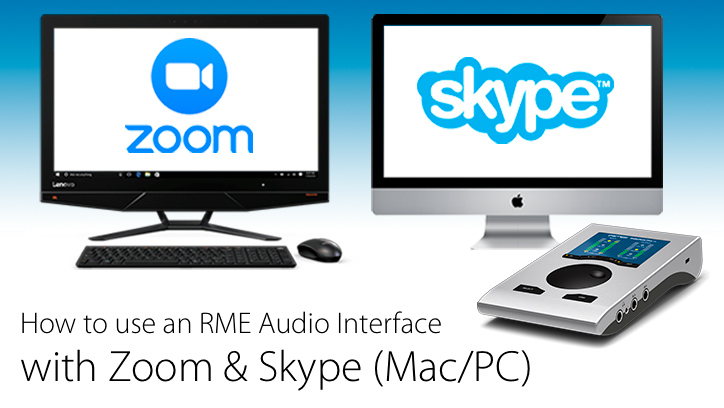
 We take you through the steps for using popular video call apps Zoom and Skype with an RME audio interface.
With the UK and much of the rest of the world currently on lockdown due to the COVID-19 outbreak, video apps like Skype and Zoom have become increasingly popular for communication.
Although the audio quality is pretty poor (mono and heavily compressed), these apps are still a great way to collaborate remotely, for bouncing ideas with your band mates or other musicians.
What’s more, using professional-level audio equipment will still vastly improve the audio quality, and we’d highly recommend investing in a professional audio interface and a high quality vocal microphone – equipment that you’ll continue to use for recording post-lockdown.
If you’re already an RME user and are wondering how you can use your interface with Skype and Zoom, wonder no more, as we outline the steps to setting up below.
We’ll also have additional video tutorials to follow very soon, where we’ll go into more detail about multi-channel playback and recording, and look at some more professional options for higher quality audio.
Please Note: You’ll want to use headphones rather than speakers when working with Skype and Zoom. Using speakers / studio monitors will potentially cause you to run into problems with feedback. Keep things simple to begin with by keeping your volume levels low and turning things up slowly, until you’re happy you have everything set up correctly.
To jump to the Mac How To Guide, click here
To jump to the Windows How To Guide, click here
Part 2: Multi-Source Audio with Zoom/Skype and an RME Audio Interface
Part 3: High-Quality Audio with Zoom/Skype and an RME Audio Interface (Source-Connect Now)
Part 4: Recording Skype and Zoom in your DAW with an RME Audio Interface
How to use Skype and Zoom with an RME Audio Interface: Setting Up Your Interface
See more videos at Synthax TV
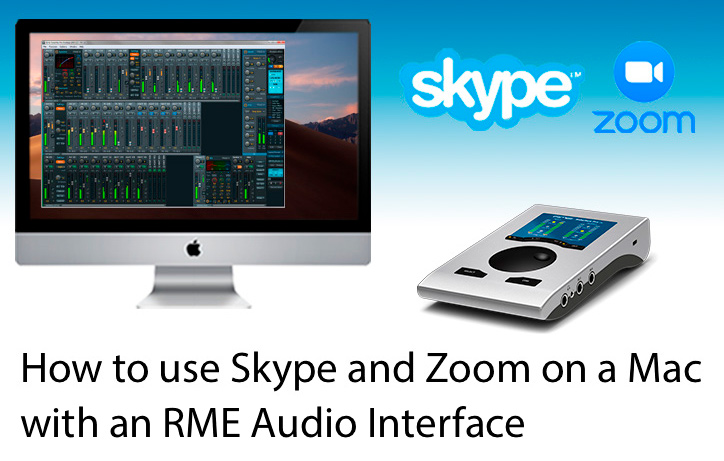 Mac – How to use Skype or Zoom with an RME audio interface
1) Make sure you have your audio interface connected to your Mac, and that you have your RME device selected in your System Preferences for both Input and Output.
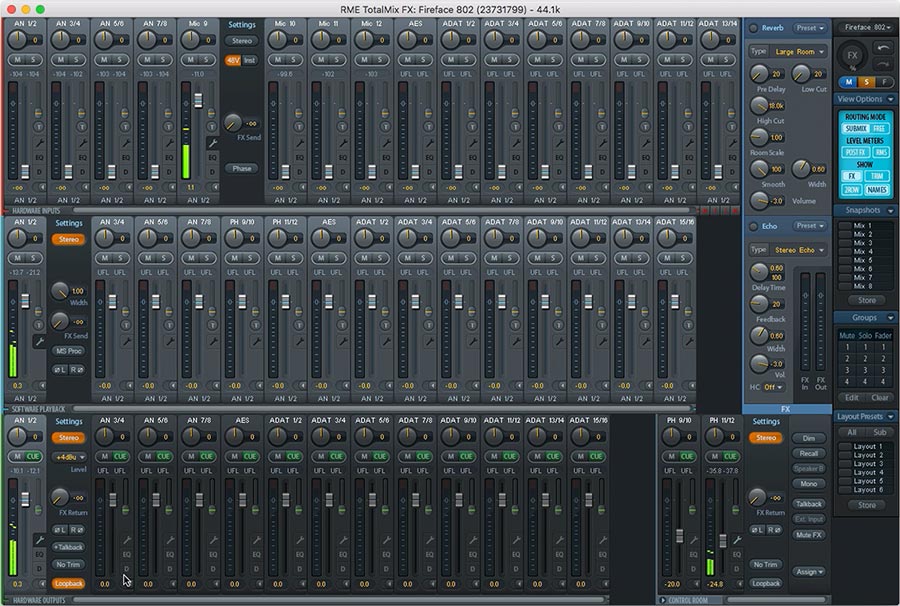
2) If you haven’t already, connect your microphone and open TotalMix FX. Switch on 48v phantom power for you mic input channel (if using a condenser) in the top-row of TotalMix, and raise the gain on the channel – the gain encoder is located next to the mic input channel (click the small wrench symbol to expand the options).
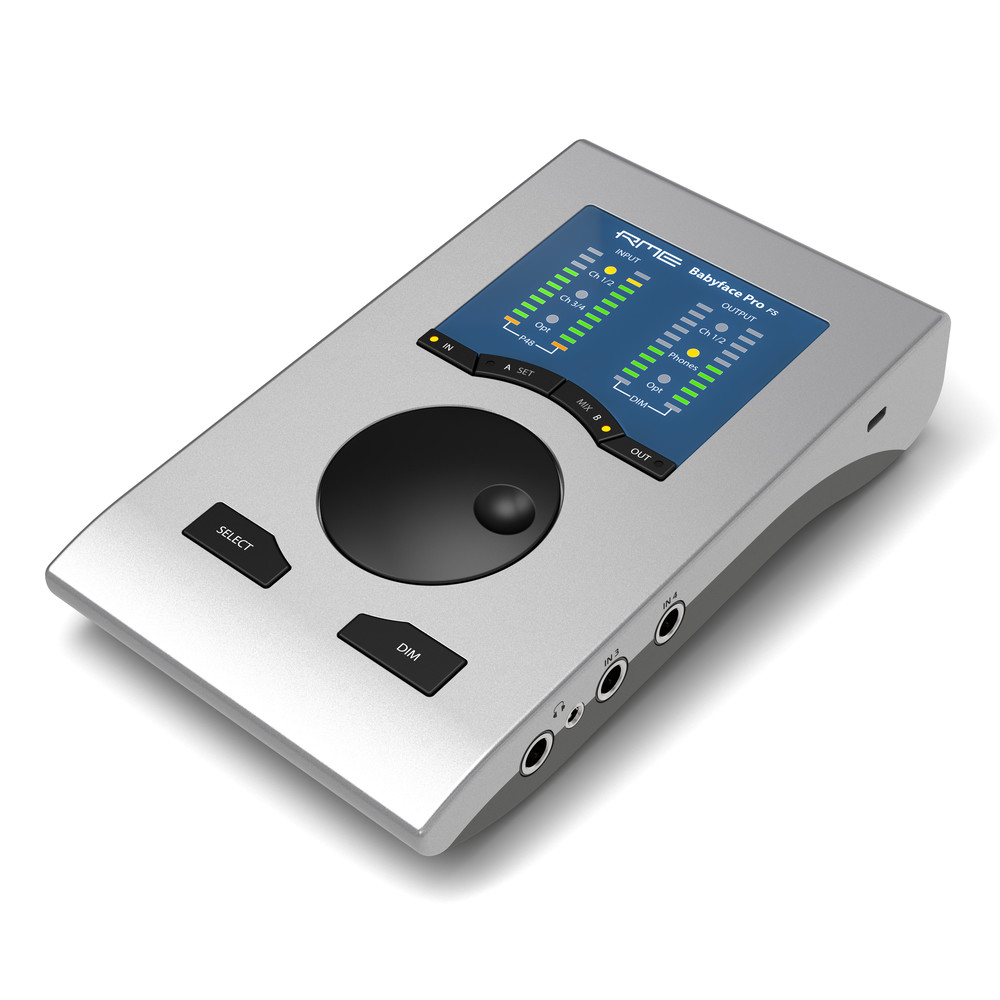
(On the Babyface Pro this will be labelled Mic 1, or AN 1 if you have the ‘NAMES’ button selected)
3) Click on the headphone output (bottom-row of TotalMix) to select the submix for your headphones (labelled PH 3/4 on the Babyface Pro). Route your microphone to your headphones output (so you can hear yourself), by raising the fader on your microphone input channel (top-row of TotalMix).
4) On a Mac, Skype / Zoom will use the first two outputs of your interface to receive audio (labelled AN 1/2 in the bottom row of TotalMix) – make sure that fader is raised too, so that Skype / Zoom sees your audio.
5) Make sure that you also have the audio from Skype / Zoom routed to your headphones, by clicking on your headphone output again (e.g. PH 3/4, bottom-row of TotalMix), then raising the first Software Playback channel (AN 1/2 in the middle row of TotalMix).
This next step will be slightly different depending on which RME audio interface you have;
For Babyface Pro, MADIface Pro, Fireface UC and Fireface UCX users
6) If you’re using one of RME’s smaller interfaces with Skype / Zoom, you can stop here, as Skype / Zoom will automatically see your mic input, since all RME’s smaller interfaces use the first two hardware inputs for microphones (Mic 1 & Mic 2, or AN 1/2 in the top-row of TotalMix).
There is therefore no need to route the microphone(s) to the Skype / Zoom output AN 1/2, as Skype / Zoom pick up audio from these channels by default.
You can test everything is working by going into the Skype / Zoom audio settings. Make sure you have your RME interface selected as both the output (labelled Speaker) and the input (labelled Microphone).
For some additional information on testing the input and output levels, scroll down to the end of this article.
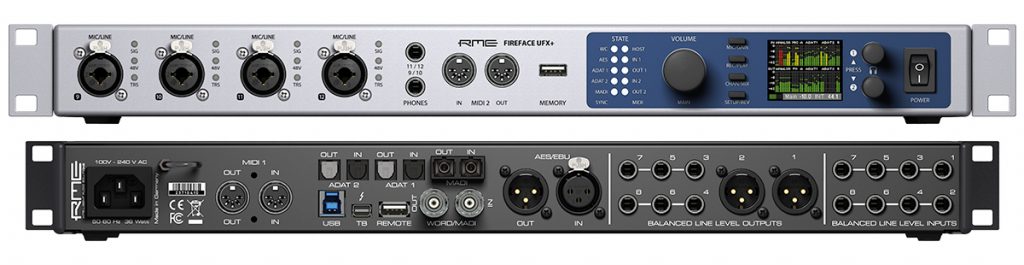
 For Fireface 802, UFX II and UFX+ (RME’s Loopback function)
6) If you’re using one of RME’s larger 1U interfaces, your microphone inputs will be on channels 9, 10, 11 and 12 (labelled Mic 9, Mic 10 etc in the top-row of TotalMix). So, you will need to route your microphone to output AN 1/2 (bottom-row of TotalMix), which Skype / Zoom uses for audio, and then activate RME’s loopback function, so that the microphone input you’re using is picked up by Skype / Zoom.
To route the microphone to Skype / Zoom, click on the AN 1/2 output in the bottom-row of TotalMix to make sure it’s selected, and now raise the fader for the input you have your mic plugged into (e.g. Mic 9) in the top-row of TotalMix, thereby routing the mic to that output.
7) Before Skype or Zoom can receive audio from your mic, you’ll need to activate RME’s Loopback function. Click on output AN 1/2 in the bottom-row of TotalMix, then click on the small wrench symbol to expand the options. Now click on the Loopback button to activate Loopback – this routes the audio back in as an input on channels 1 & 2, internally via your interface’s on-board DSP.
Note for RME Fireface 802 users only:
If you have a Fireface 802, your microphone gains will be analogue, so you’ll need to use the analogue gain pots on the front of your interface to increase the level. All other RME audio interfaces feature digitally-controlled mic preamp gains.
You will also want to route your mic to your headphone output if you haven’t already, by clicking on the headphone output on the bottom-row of TotalMix (e.g. PH 9/10), and raising the (e.g. Mic 9) fader so you can hear yourself for monitoring.
You should now be done. You can test everything is working by going into the Skype / Zoom audio settings. Make sure you have your RME interface selected as both the output (labelled Speaker) and the input (labelled Microphone).
For some additional information on testing the input and output levels, scroll down to the end of this article.
 Windows – How to use Skype or Zoom with an RME audio interface
The steps for using Skype or Zoom on a Windows PC are much simpler, as the WDM Driver allows for any input or output to be visible in Skype or Zoom.
1) Make sure you have your audio interface connected to your PC, and have your RME interface selected in your Sound Settings for both Input and Output.
2) If you haven’t already, connect your microphone and open TotalMix FX. Switch on 48v phantom power for you mic input channel (if using a condenser) in the top-row of TotalMix, and raise the gain on the channel – the gain encoder is located next to the mic input channel (click the small wrench symbol to expand the options).
(On the Babyface Pro this will be labelled Mic 1, or AN 1 if you have the ‘NAMES’ button selected)
3) Click on the headphone output (bottom-row of TotalMix) to select the submix for your headphones (labelled PH 3/4 on the Babyface Pro). Route your microphone to your headphones output (so you can hear yourself), by raising the fader on your microphone input channel (top-row of TotalMix).
This next step will be slightly different depending on which RME audio interface you have;
For Babyface Pro, MADIface Pro, Fireface UC and Fireface UCX users
4) Open Skype or Zoom, go to the audio settings and select Analog (1+2) as your audio input (under Microphone). This refers to your two XLR inputs – i.e. Mic 1 & Mic 2 (or AN 1/2 inputs).
5) Set your audio output as your headphones (Analog 3+4) (under Speakers).
You should now be good to go, and can test everything is working by using the respecive test functions. For some additional information on testing the input and output levels, scroll down to the end of this article.
Please note: We strongly recommend turning the output level in Skype or Zoom’s audio settings all the way down before using the test functions, then slowly raising the slider back up to a comfortable level. See ‘Testing the Output’ below for more info.
For Fireface 802, UFX II and UFX+
4) Open Skype or Zoom, go to the audio settings and select the input you have your microphone plugged into as your audio input (under Microphone).
(Either Analog (9+10) or Analog (11+12))
5) Set your audio output as your headphones (under Speakers).
(Either Analog 9+10 or Analog 11+12)
You should now be good to go. For some additional information on testing the input and output levels, see the below sections.
Please note: We strongly recommend turning the output level in Skype or Zoom’s audio settings all the way down before using the test functions, then slowly raising the slider back up to a comfortable level. See ‘Testing the Output’ below for more info.
 Testing the Input
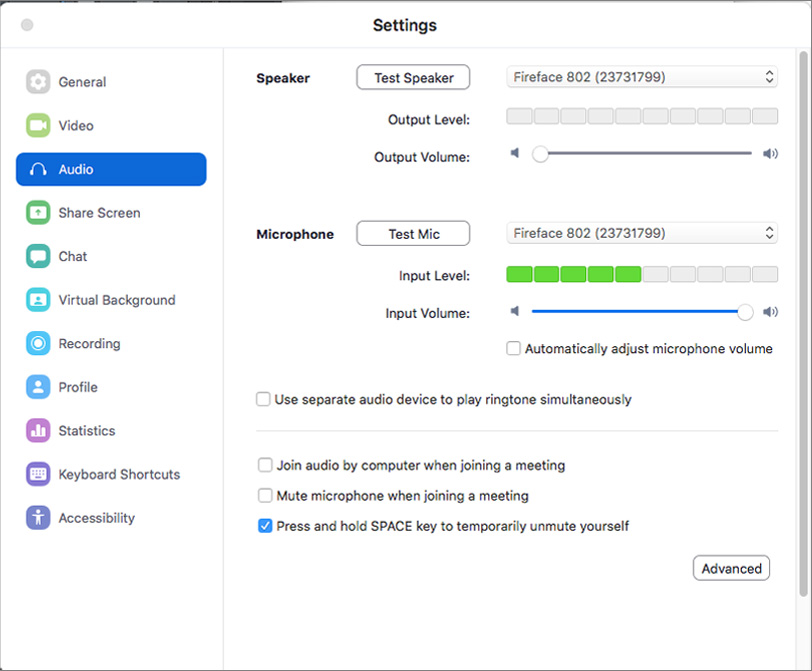
You’ll also find volume controls in both of Skype and Zoom’s audio settings. The Microphone input volume slider should communicate with TotalMix and take control over the gain encoders for your mic inputs. You can see this if you go back into TotalMix and click on the wrench symbol next to your mic input in the top-row, and watch the gains move as you move the volume slider in Skype or Zoom.
Note: We suggest de-selecting the ‘Automatically adjust microphone volume’ checkbox, lowering the slider to zero (all the way to the left), and then carefully raising it again until you get a desired level.
You should automatically see input level for the Microphone section whenever you speak into your mic, however you can click the Test Mic button to confirm, which will allow you to record a short message which will be played back to you.
 Testing the Output
To test the output, simply click on the Test Speaker button. As with the input, we’d recommend lowering the Output Volume slider all the way to the left first, then slowly increasing it until you are satisfied with the level.
Remember, you have two volume controls for your headphones – the volume controller here in Skype / Zoom, and the one for your headphones in TotalMix FX. As you are routing your microphone directly to yourself for monitoring, raising the headphone output in TotalMix will also raise the volume you hear your input (for you in your headphones, but not for anyone else on the video chat).
You will therefore want to strike a balance between using the microphone input in the headphones submix (in TotalMix), and using the Output Volume control in Skype / Zoom, when controlling your personal headphone monitoring level.
Final Word
We hope that’s allowed you to get set up with Skype or Zoom – if you’re having trouble following the above steps, check out the video tutorials on our YouTube Channel.
We’ll also be checking out how you can use multiple sources with Skype and Zoom (your web browser, DAW, iTunes etc), and how you can record yourself and others in your video chat for jamming and music collaboration. Stay tuned.
Click here to see the full range of RME audio interfaces
Click here to see the full range of Lauten Audio Microphones
![]() If you’d like to know more about any of RME’s audio interfaces, soundcards, AD/DA Converters or microphone preamps, give us a call on 01727 821 870 to speak to one of our team or to arrange a demo.
If you’d like to know more about any of RME’s audio interfaces, soundcards, AD/DA Converters or microphone preamps, give us a call on 01727 821 870 to speak to one of our team or to arrange a demo.
You can also contact us here.